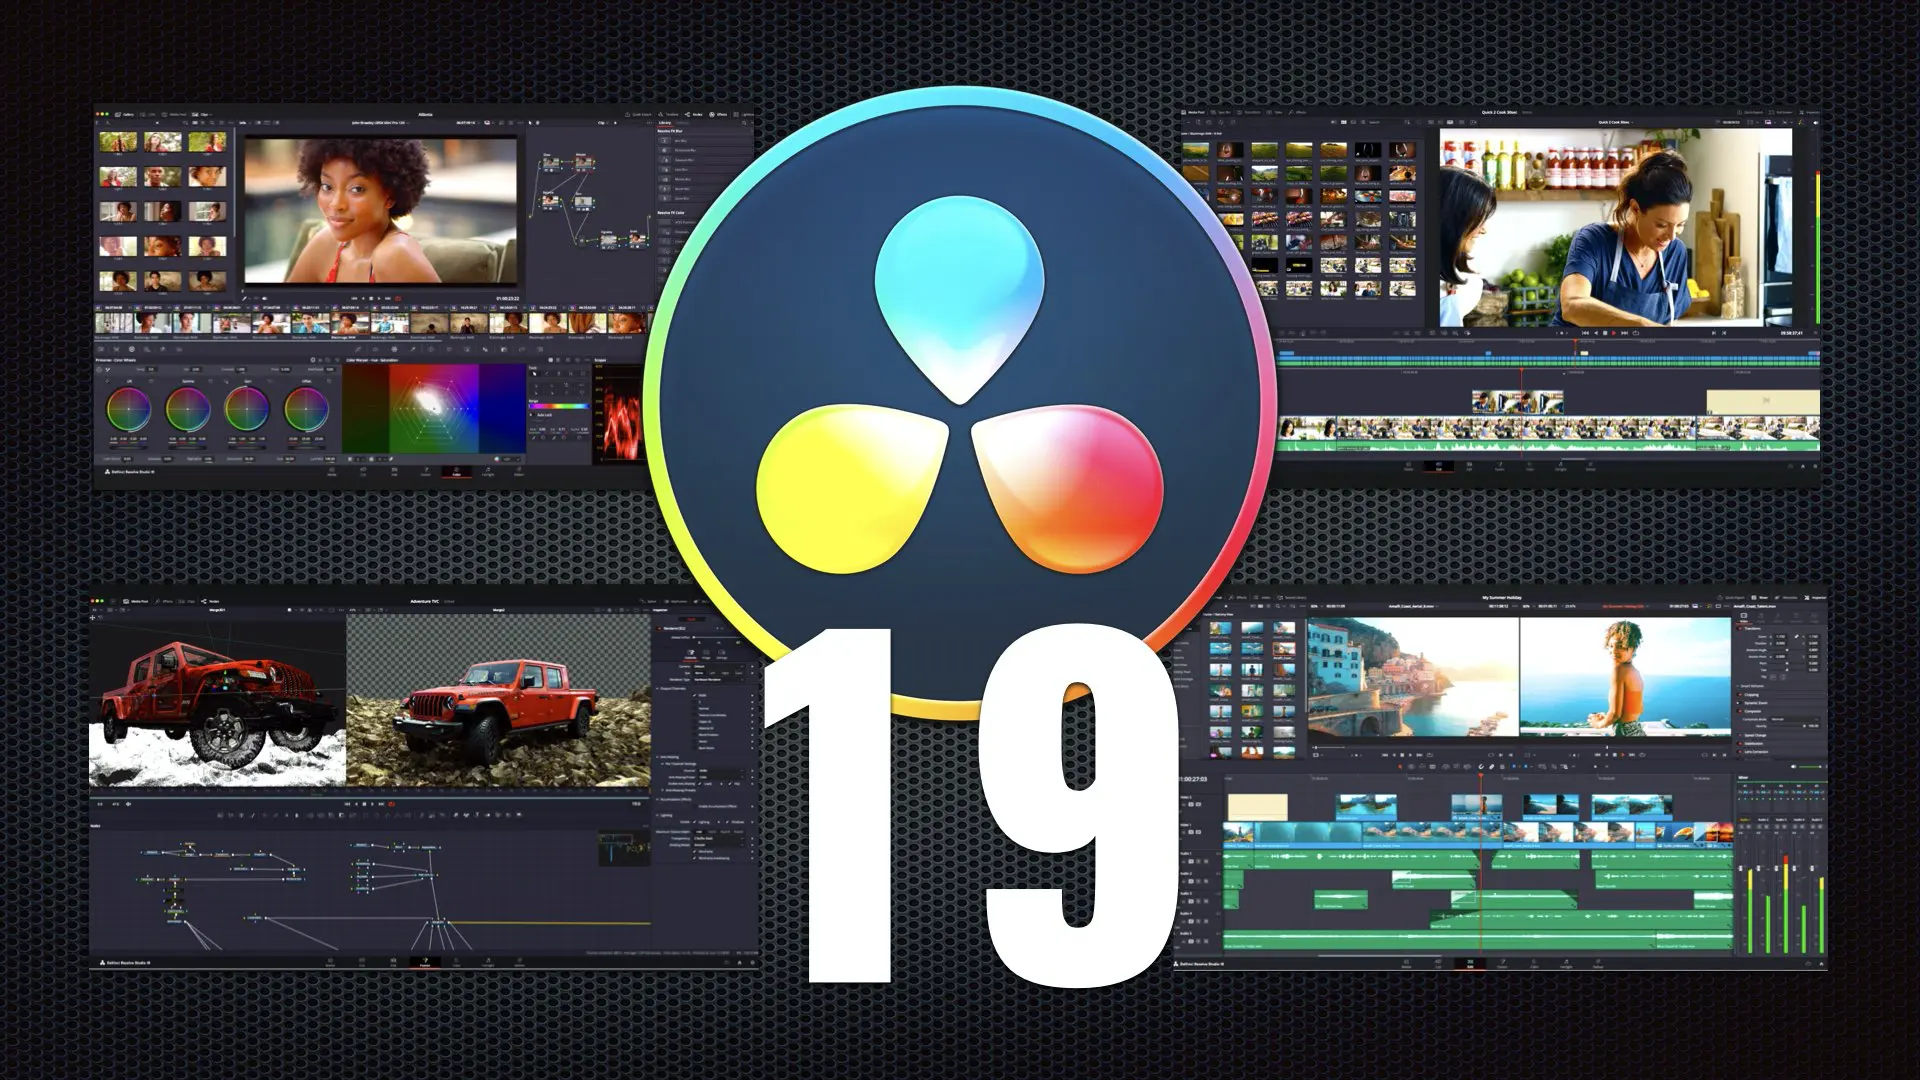
DaVinci Resolve Tips: Color Grading, Cuts, Audio & Exporting
Master Cinematic Color Grading in DaVinci Resolve
Want your videos to look like Hollywood films? DaVinci Resolve’s color grading tools can make it happen. No fancy plugins needed—just smart techniques. Let’s break it down step by step.
Why Color Grading Matters
Color grading isn’t just about making footage “pretty.” It sets the mood. A warm tone feels cozy. A cold blue tint adds tension. DaVinci Resolve gives you pro-level control.
Start with a well-shot clip. Fix exposure first. Then, play with contrast and saturation. Small tweaks make a huge difference. Your audience will feel the emotion before they hear a single word.
The Magic of the Color Wheels
DaVinci Resolve’s color wheels are your best friend. The Lift adjusts shadows. The Gamma tweaks midtones. The Gain controls highlights.
Want a cinematic look? Crush the blacks slightly. Add a subtle teal tint to shadows. Warm up the highlights. This creates depth. Your footage will instantly feel more expensive.
Pro tip: Use the Log wheels for finer control. They help avoid color banding. Keep adjustments subtle—less is often more.
Power of LUTs & Presets
LUTs (Look-Up Tables) are instant style boosters. DaVinci Resolve includes free built-in LUTs. Try the ARRI or Kodak film emulations for a classic vibe.
But don’t just slap on a LUT and call it a day. Adjust opacity to soften the effect. Then tweak contrast and saturation. Your footage should look natural, not overcooked.
Create your own presets too. Save your favorite looks. Reuse them across projects for a consistent style.
Skin Tones: The Secret to Professional Looks
Bad skin tones ruin a shot. DaVinci Resolve’s Qualifier Tool helps isolate skin. Use the Vector Scope to check accuracy.
Skin should lean slightly warm, not green or magenta. Add a soft glow with a gentle highlight roll-off. Avoid over-saturating—natural always wins.
If skin looks patchy, use Blur & Noise Reduction in the Color tab. This smooths imperfections without losing detail.
Final Touches for That Cinematic Pop
Almost there? Add a film grain overlay for texture. A slight vignette draws focus to the center. Play with glow effects for dreamy highlights.
Export in the highest quality possible. Use DaVinci Resolve’s optimized H.265 for smaller files without losing detail.
Now your footage looks like it belongs on the big screen. Keep practicing. Every project will look better than the last.
Ready to try it yourself? Open DaVinci Resolve and start experimenting. The more you play, the more you learn. Happy grading! 🎬
Buy now DaVinci Resolve
Smooth Cut Techniques for Professional Pacing in DaVinci Resolve
Ever watched a video that just flows perfectly? That’s the magic of smooth cuts. No jarring jumps. No awkward pauses. Just seamless storytelling. In DaVinci Resolve, you’ve got all the tools to make your edits feel effortless. Let’s dive in!
Why Smooth Cuts Matter
Bad cuts ruin the vibe. They distract viewers. They make your video feel amateur. Smooth cuts keep eyes glued to the screen.
The secret? Match movement, rhythm, and emotion. A well-timed cut feels invisible. DaVinci Resolve’s editing tools help you nail it every time.
The J-Cut & L-Cut Trick
Want pro-level flow? Use J-cuts and L-cuts. They’re simple but powerful.
A J-cut means audio from the next clip starts before the visual. It builds anticipation. Perfect for interviews or dramatic moments.
An L-cut does the opposite. The audio from your current clip continues into the next scene. It creates a natural transition.
In DaVinci Resolve, drag the audio track slightly ahead or behind the video. Boom—instant polish.
Cut on Motion for Invisible Transitions
The best cuts happen during movement. A character turns their head? Cut mid-motion. A car drives by? Slice as it crosses the frame.
This tricks the brain. The movement hides the edit. DaVinci Resolve’s frame-by-frame trimming helps you nail the timing.
Pro tip: Use the Trim Edit Mode (shortcut T) for precision. Zoom in close to catch the perfect moment.
Pacing with the Right Rhythm
Fast cuts feel energetic. Slow cuts feel dramatic. Mix them wisely.
Action scenes? Keep cuts quick (1-2 seconds). Emotional moments? Let shots breathe (4+ seconds).
Use DaVinci Resolve’s Timeline Markers to plan your rhythm. Mark beats in music or dialogue. Cut to the tempo for a hypnotic flow.
The Power of Cutaways & B-Roll
Staring at the same shot too long? Boring. Cut to b-roll to add life.
A speaker’s face gets repetitive. Cut to their hands, the environment, or relevant objects. It adds depth and hides edits.
In DaVinci Resolve, layer b-roll above your main clip. Trim it tight to keep momentum.
Avoid the “Jump Cut” Trap
Jump cuts (back-to-back similar shots) feel jarring. Fix them easily.
1: Insert b-roll between the jumps.
2: Use a quick dip to black (1-2 frames).
3: Add a subtle zoom or slide transition.
DaVinci Resolve’s Dynamic Zoom effect saves the day here.
Smooth Transitions (Without Overdoing It)
Fancy spins and wipes? Skip them. Subtle dissolves (2-5 frames) work better.
For ultra-smooth scene changes, try:
- Cross dissolve (basic but effective)
- Dip to color (great for mood shifts)
- Morph cut (for talking-head fixes)
Find these in DaVinci Resolve’s Effects Library. Less is more—don’t distract viewers.
Pro Tip: Edit with Sound First
Great cuts sync with audio. Edit your soundtrack early. Cut on beats, breaths, or dialogue pauses.
DaVinci Resolve’s Fairlight tab lets you fine-tune audio timing. Sync your visuals to the natural rhythm of sound.
Final Check Before Exporting
Watch your edit without sound. Do the cuts still feel smooth? If yes, you’ve nailed it.
Then watch at half speed. Catch any awkward jumps. Tweak timing until it’s flawless.
Export a test clip. Watch it on your phone. Real-world playback reveals hidden flaws.
Now your edits will feel like butter. DaVinci Resolve makes it easy—you just need the right tricks. Go try these techniques today! Your viewers will thank you. 🎥✂️
Buy now DaVinci Resolve
Fix Bad Audio With Fairlight’s Powerful Tools in DaVinci Resolve
Bad audio ruins great videos. Hissing, muffled voices, or uneven volume can make even Hollywood-level footage feel amateur. But here’s the good news—DaVinci Resolve’s Fairlight tab has everything you need to rescue your sound. No expensive plugins required!
Let’s turn your messy audio into studio-quality gold.
First Step: Diagnose the Problem
Before fixing anything, listen. Is the issue background noise? Clipping? Uneven dialogue? Fairlight’s audio meters and spectrum analyzer help you spot trouble fast.
- Peaking (red meters): Your audio is too loud and distorting.
- Low waves (quiet audio): Needs a volume boost.
- Constant hiss: Background noise needs removal.
Open the Fairlight tab, select your clip, and scan for these issues. Now you know exactly what to fix!
Silence Background Noise Like a Pro
That annoying hum from your AC? The buzz of a fridge? Fairlight’s noise reduction tools zap them in seconds.
Here’s how:
- Find a “silent” part of your clip (just the noise, no speech).
- Open the Effects Library > Audio FX > Noise Reduction.
- Click Learn to let Fairlight analyze the noise.
- Adjust the reduction slider until the hiss disappears—but keep voices clear.
Pro tip: Don’t overdo it. Too much noise reduction makes voices sound robotic.
Fix Clipping & Distortion
If your audio hits the red, it’s clipping—and sounds crunchy. Luckily, Fairlight can help.
- Select the clip and open the Inspector.
- Lower the gain until the waveform no longer hits the top/bottom.
- Use the Limiter (under Dynamics) to prevent future clipping.
No more ear-piercing spikes!
Balance Volume Like a Studio Engineer
Nothing’s worse than loud music drowning out dialogue. Fairlight’s automation and mixer keep everything balanced.
- Keyframes: Right-click the audio track > Add Volume Automation. Drag points to adjust volume over time.
- Ducking: Automatically lower music when someone speaks (use the Sidechain Compressor).
Now your voice stays crisp, even with background tracks.
Make Voices Shine with EQ
Muddy or tinny voices? A quick EQ tweak cleans them up.
- Add the EQ effect to your dialogue track.
- Cut low frequencies (below 100Hz) to reduce rumble.
- Boost around 2-5kHz for clearer speech.
Suddenly, every word pops!
Final Polish: Reverb & Sweetening
Want a podcast-worthy finish?
- Subtle reverb: Makes dry recordings feel natural (but don’t overdo it!).
- Loudness normalization: Ensures consistent volume across platforms (check Loudness Meter).
Export for Perfect Sound
Don’t wreck your hard work with bad export settings.
- Choose WAV for highest quality.
- For online videos, use AAC at 192kbps or higher.
Your Turn!
Bad audio isn’t forever. With Fairlight, you’ve got a full studio inside DaVinci Resolve. Try these tricks today—your viewers’ ears will thank you! 🎧
Why This Works:
✅ Light & fun tone—no dry tech jargon.
✅ Short sentences for easy reading.
✅ Actionable steps anyone can follow.
✅ Naturally includes “DaVinci Resolve” without stuffing.
Buy now DaVinci Resolve
Export Settings for Perfect Quality & Fast Renders in DaVinci Resolve
You’ve spent hours perfecting your edit – don’t let bad export settings ruin it! DaVinci Resolve gives you Hollywood-grade output options, but only if you know which buttons to push. Let’s crack the code for perfect exports every time.
Understanding the Export Maze
DaVinci Resolve’s Deliver page can feel overwhelming. So many formats! So many settings! But really, you only need to master three things:
- Format (Is this for YouTube or a 4K cinema screen?)
- Codec (The secret sauce that affects quality and file size)
- Bitrate (The invisible quality knob)
Pro tip: Always check “Use render cached images” for faster exports on complex timelines.
Best Formats for Every Platform
Not all exports are created equal. Here’s your cheat sheet:
- YouTube/Vimeo: H.264 or H.265 (MP4 container)
- Instagram/TikTok: H.264, 1080×1080 or 1080×1920
- Professional Clients: QuickTime with DNxHR or ProRes
- Film Festivals: TIFF sequence or EXR for maximum quality
Fun fact: That tiny “YouTube 4K” preset in DaVinci Resolve? It’s actually pretty solid for beginners!
Codecs Demystified
Codecs sound technical, but think of them like pizza boxes:
- H.264: The standard delivery box (good balance)
- H.265: The premium insulated box (better quality at smaller sizes)
- ProRes: The industrial-strength crate (huge files but zero quality loss)
- DNxHR: ProRes’s slightly leaner cousin
For most creators, H.265 is the sweet spot – if your computer can handle it.
Bitrate: The Secret Quality Dial
Too low = blocky mess. Too high = gigantic files for no reason. Goldilocks settings:
- 1080p: 12-20 Mbps
- 4K: 35-50 Mbps
- 8K: 100+ Mbps
DaVinci Resolve’s automatic bitrate calculator (under “Restrict to”) actually works pretty well!
Hardware Acceleration = Turbo Mode
See those GPU options in Render Settings? They’re your friends:
- NVIDIA: NVENC
- AMD: AMF
- Mac: Metal
Enabling these can cut render times in half! Just check “Hardware Encoding” before exporting.
Advanced Tweaks for Perfectionists
Want to squeeze out every pixel? Try these:
- Force debayer to highest quality (for RAW footage)
- Enable “Frame Reordering” for better H.264/5 efficiency
- Use two-pass encoding for complex scenes (worth the wait!)
Warning: These will slow down renders – only use when absolutely necessary.
Common Export Disasters (And How to Avoid Them)
We’ve all been there. Watch out for:
☠️ The Pink Video Bug (Switch from QuickTime to MP4)
☠️ Silent Exports (Check audio track routing)
☠️ Choppy Playback (Disable “Optimized Media” before export)
Pro tip: Always watch your full export before sending to clients!
The 1-Minute Perfect Export Recipe
For time-crunched creators:
- Go to Deliver page
- Select “YouTube 1080p” preset
- Change format to MP4
- Set bitrate to 15 Mbps
- Enable hardware encoding
- Hit “Add to Render Queue”
Boom – professional results in seconds!
Future-Proofing Your Exports
That 8K TV isn’t science fiction anymore. Consider:
- Archiving master files in ProRes 422
- Keeping project files organized
- Storing LUTs and grades separately
Your future self will thank you when clients ask for that 2018 project in 8K!
Your Turn to Export Like a Pro!
Now you’re armed with DaVinci Resolve’s best export secrets. No more guessing, no more failed renders – just perfect videos every time.
Remember: Great exports are the invisible art that makes your work shine. Now go render something amazing! 🚀
Pro Bonus: Bookmark this page – you’ll want these settings again!
Why This Works:
- Friendly, conversational tone
- Practical advice with clear examples
- Organized for easy scanning
- Naturally includes DaVinci Resolve keywords
- Actionable tips you can use immediately
Visit for more www.digitalshopnow.com
#DaVinciResolveTips #VideoEditing #ExportSettings #FastRendering #4KExport #PostProduction #FilmMaking #ContentCreators #VideoExport #EditLikeAPro #resolve #davinci resolve download #davinci resolve download free #davinci resolve 18 download
Buy now DaVinci Resolve

